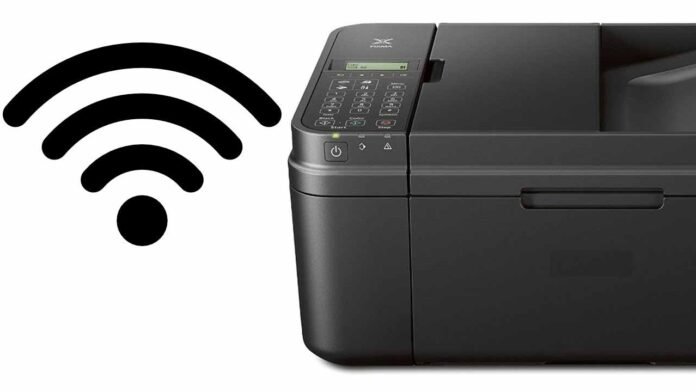
Setting up a wireless Canon printer for your home or business can do wonders. With the introduction of wireless printers, you can connect your Canon Pixma printer to a Wi-Fi connection to use it wirelessly. This way you can print documents and images directly from your mobile device with ease. You don’t even have to be in the same physical location as the printer itself; it’s that easy. On top of that, setting up a Wi-Fi Canon Pixma printer will allow you to configure all on-page functionality, making it easier than ever before to capture what you want out of this technology.
You can try the following methods to connect the Canon Pixma printer to Wi-Fi:
1. Via the standard method:
You can connect your Canon Pixma to the Wi-Fi via the standard connection method which is preferred when the router lacks the WPS feature. To go with this method, follow these steps:
1. Take the CD that comes with the printer and insert it into your PC or laptop.
2. Go through the setup and when you’re prompted to choose the connection method, choose “Wireless LAN Connection”.
3. Select the “Access Point Connection” for the wireless LAN connection, and proceed further by pressing “Next”.
4. While going through the installation, choose the Cable-less setup.
5. Then press and hold the Wi-Fi button on the printer.
6. You’ll see that the orange light is flashing.
7. Then choose Next.
8. After a while, you’ll see that the blue Wi-Fi light is flashing quickly.
9. Now, you’ll get the license agreement.
10. Follow the on-screen instructions and finalize the process by clicking on “Finish”.
2. Via the WPS method:
To connect your wireless canon printer to a laptop or PC via the WPS method follow the steps:
1. To begin with the Canon Pixma Wireless Printer setup process, you need to switch on the device and make sure that all of the connections are working fine (including the Wi-Fi).
2. On your printer, you’ll find the “Wi-Fi” button.
3. Press and hold the button for a few seconds and you’ll see a blue light flashing.
4. Then, press the WPS button on the router and wait for a while.
5. After a while, you’ll notice that the lights on both the printer and router have stopped blinking.
6. It indicates that a connection has been established between the two.
7. Give a print command and check if the printer is taking any prints or not.
If your Canon Pixma is not connecting to Wi-Fi or if you’re facing any other issue because of which you’re not able to get any prints, consult “Printer IT Help”. It is a team of experts that will get to the root of the problem and give you the best solution. With years of experience and extensive knowledge of printers, they are adept at giving cost-effective and time-saving solutions to their customers. Have a look at their services in detail at http://printerithelp.com.


